Ubuntu安装Nginx
Nginx官方下载地址
安装依赖
shell
sudo apt install -y build-essential libpcre3 libpcre3-dev zlib1g zlib1g-dev libssl-dev wget下载Nginx
shell
wget https://nginx.org/download/nginx-1.26.2.tar.gz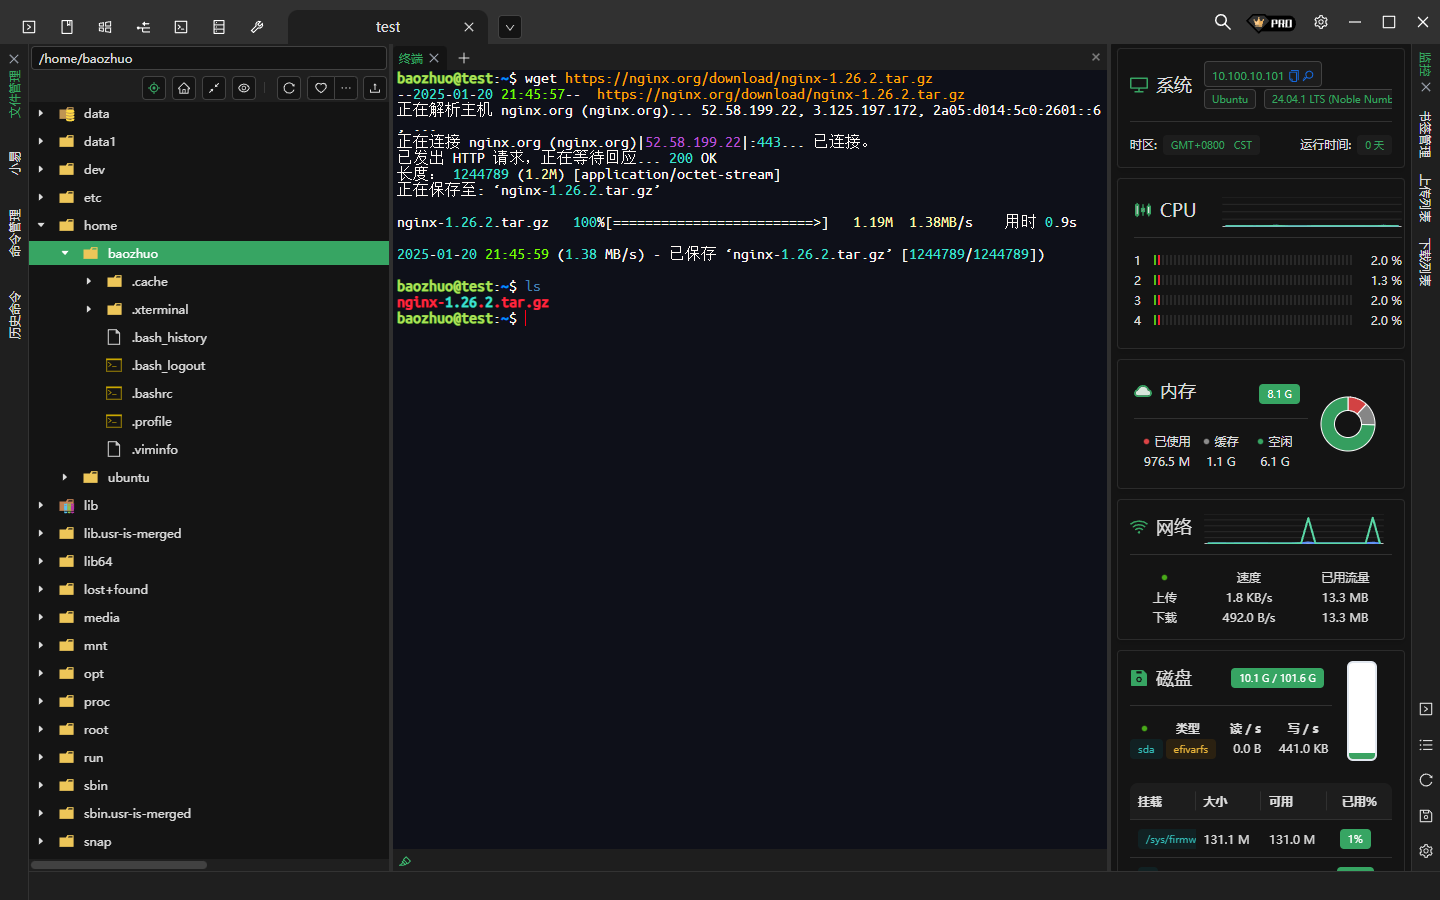
解压Nginx
shell
tar -zxvf ./nginx-1.26.2.tar.gz
进入解压后的Nginx目录

配置编译选项
配置编译选项可以自定义Nginx的功能和模块。以下是一个常用的配置示例:
shell
sudo ./configure \
  --sbin-path=/usr/local/nginx/nginx \
  --conf-path=/usr/local/nginx/conf/nginx.conf \
  --error-log-path=/var/log/nginx/error.log \
  --http-log-path=/var/log/nginx/access.log \
  --with-pcre \
  --with-http_ssl_module \
  --with-http_v2_module \
  --with-http_gzip_static_module \
  --with-stream \
  --with-stream_ssl_module
说明:
--sbin-path: 指定Nginx可执行文件的安装路径。--conf-path: 指定Nginx配置文件的位置。--error-log-path&--http-log-path: 指定日志文件的位置。--with-pcre: 启用PCRE支持(正则表达式)。--with-http_ssl_module: 启用SSL模块。--with-http_v2_module: 启用HTTP/2支持。--with-http_gzip_static_module: 启用Gzip静态压缩模块。--with-stream&--with-stream_ssl_module: 启用TCP/UDP流支持及其SSL模块。
可以根据需求添加或删除配置选项。运行./configure --help可以查看所有可用的配置选项。
编译和安装
编译源码
shellsudo make编译过程可能需要几分钟,具体时间取决于系统性能。
安装Nginx
shellsudo make install默认情况下,Nginx将被安装到之前指定的路径(如
/usr/local/nginx/)。
创建Nginx用户和目录
创建一个专用用户运行Nginx
shellsudo useradd -r -s /sbin/nologin nginx设置正确的权限
shellsudo chown -R nginx:nginx /usr/local/nginx
注意:非root用户不能直接使用1-1024端口,所以要不使用root直接运行nginx,要不使用1024以上的端口,要不就给权限
启动ngxin
shell
sudo /usr/local/nginx/nginx浏览器访问
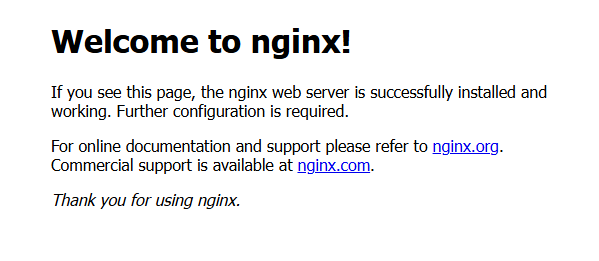
出现以下信息表示Nginx已经安装+启动成功